The PlayStation 2. Released in 2000, it went on to become the best-selling console of all time, with 160 million units sold over a run that didn't end until 2013. Part of that came down to clever positioning. It doubled as a cheap DVD player when standalone players still cost a small fortune, and it played your old PS1 discs straight out of the box. But the real legacy is the library. Thousands of games deep and packed with genre-defining classics that people still come back to today, which is exactly why it's worth emulating well.
Before we begin, just one assumption: you've already got your PS2 ROMs and a BIOS file ready to go. If you don't, there's a short section later on the legitimate routes to both.
Recommended Devices
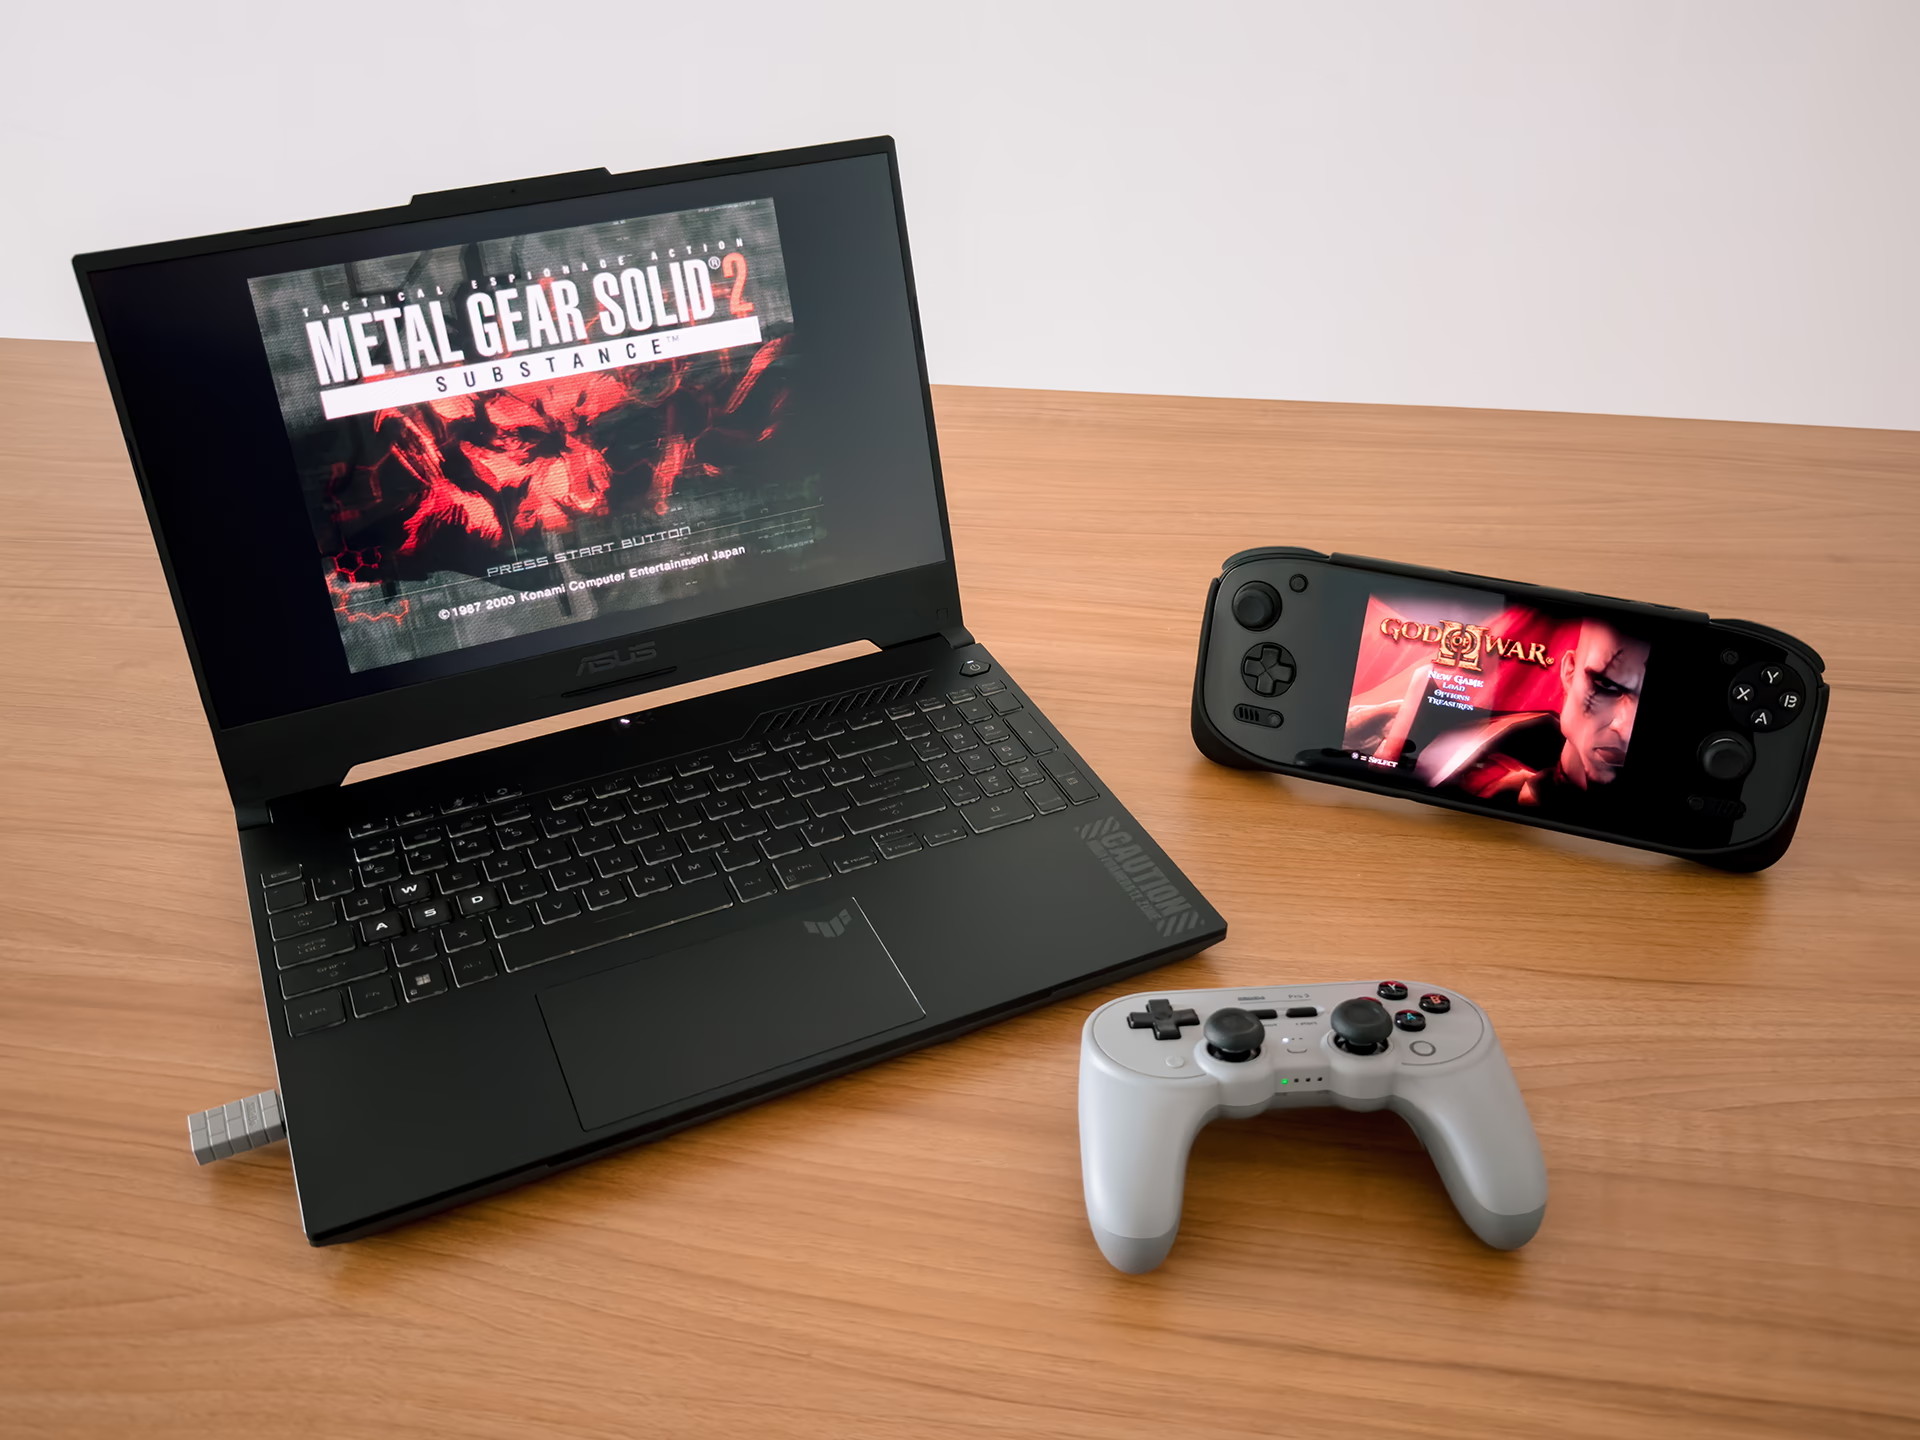
On Windows, PS2 is one of the heavier retro systems to emulate. So while you don't need a beast, most mid-range PCs from the last several years should handle the library comfortably, as will a modern Windows handheld.

For Android, aim for something with a Snapdragon (Adreno) chip. AYN's Odin family of devices (like the AYN Odin 2 Portal and the newer Odin 3), and Retroid's higher-end handhelds (like the Retroid Pocket 6 or the Retroid Pocket Nova) will handle PS2 well.
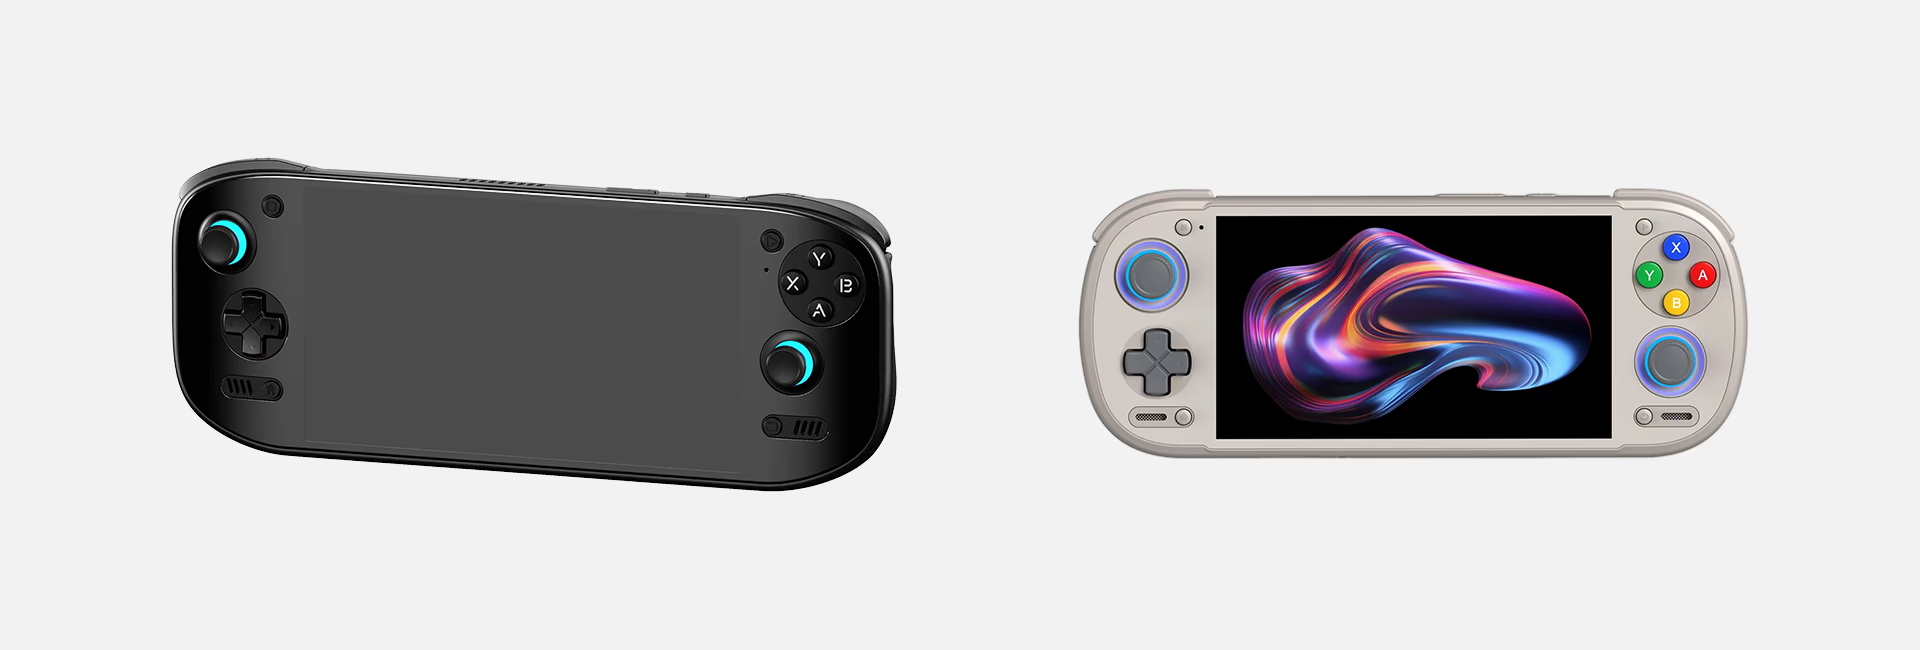
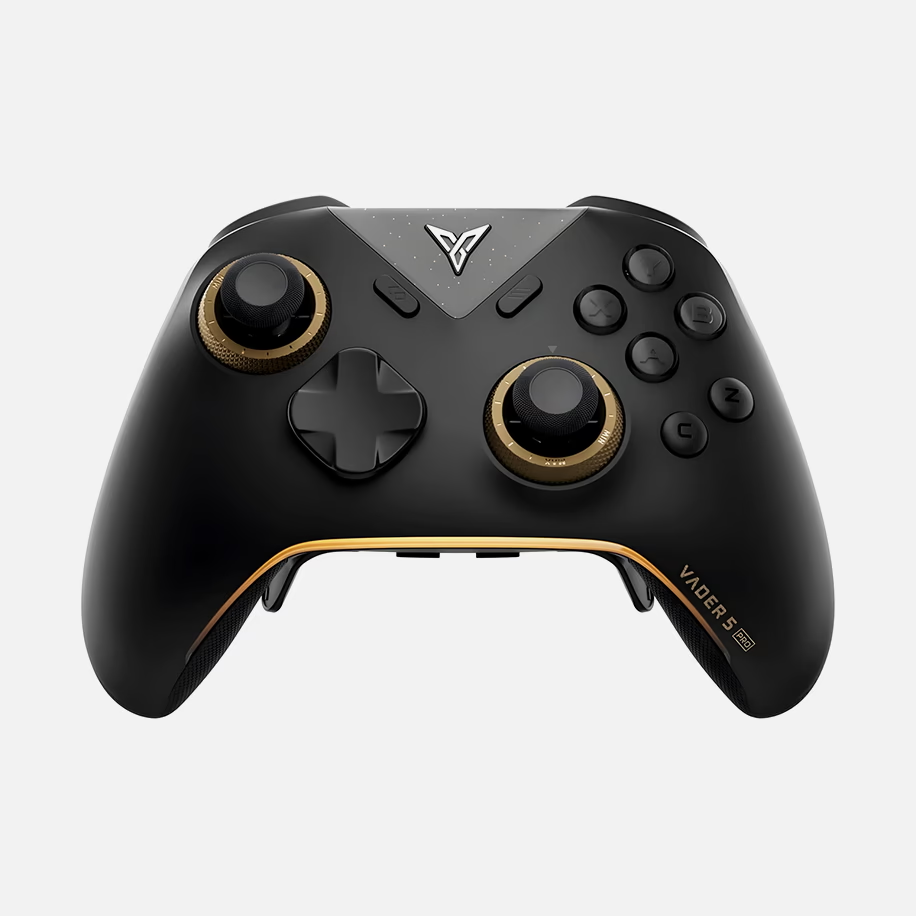
For a controller, just about any modern gamepad works. An Xbox controller is an easy default, while a DualSense gives you matching PlayStation button labels. 8BitDo's Pro 3 is another good option if you'd prefer a PC controller with a symmetrical, PlayStation-style stick layout.
The original DualShock 2 also had pressure-sensitive buttons, registering how hard you pressed rather than simply being on or off. A handful of games make use of them, mostly racing titles where the face buttons were used for throttle and braking (back before analog triggers were standard). On PC, you can recreate that experience with an official DualShock 3 for the PS3 and a bit of setup. More on that further down.

Windows: PCSX2
PCSX2 is the emulator to use if you're on Windows. Before you start, it's worth a quick look at the official system requirements. PS2 asks a bit more than most retro systems, mostly on the CPU side, so it's worth a glance if you're on older or budget hardware.
Installation & Setup
If minimal tinkering is your goal, RetroBat will set PCSX2 up for you as part of a wider emulation package. Retro Game Corps has a good walkthrough video, and that will have you covered:
If you’d rather install PCSX2 yourself, have more control over its settings, and get a better understanding of what the emulator can do, the most complete walkthrough I’ve found is Joey’s Retro Handhelds’ PCSX2 setup video:
Android: NetherSX2
On Android, NetherSX2 is the one to use. It's a community-patched continuation of AetherSX2, the now-discontinued Android PS2 emulator based on PCSX2.
Which Build to Install
Here's the important bit. NetherSX2 comes in more than one build, and there's no single best one. Performance shifts from game to game. There are two base builds, Classic and Patch. On top of those are the Turnip builds, variants of the two that bundle GPU drivers tuned for Snapdragon (Adreno) devices.
One thing to know about installing them. The two base builds share the same install slot, so you can only keep one at a time. The Turnip builds, however, each install as their own separate app. My recommendation, if you're on a Snapdragon device: install both NetherSX2 Classic and NetherSX2 Turnip (Patch). That pairing should give you the widest game coverage.
If you're not on a Snapdragon device, the Turnip builds won't do anything extra for you, so the base Classic or Patch builds are your path instead. I'd start with Classic.
If you want the full breakdown of what Turnip is doing under the hood, Retro Game Corps covers it here.
Installation & Setup
For getting up and running quickly, the guide below is the one I’d recommend. Although it's a setup guide specifically for the Ayn Thor, the NetherSX2 portions are up to date and apply to any Android device.
Timestamps:
16:19 Installation
01:20:25 Setup
For a broader Android retro-emulation setup beyond just PS2, Retro Game Corps has a more comprehensive video, though parts of its NetherSX2 installation section are now a little out of date.
If you’d rather go deeper into NetherSX2 itself, Joey’s Retro Handhelds has a more detailed guide that also covers its features and settings:
Useful Extras
Multiplatform Games (Windows and Android)
PS2 is one of the harder consoles of its generation to emulate. If a game also came out on GameCube, that version will often run better with less fuss. So my personal recommendation is to leave PS2 emulation mainly for the exclusives.
PCSX2 Portable Mode (Windows)
Normally, PCSX2 stores its config and saves in your Documents folder. Portable mode keeps everything inside the PCSX2 folder instead, making the whole setup self-contained. It’s easier to back up and move to another drive or machine, and keeps everything in one place.
Just enable it before the first launch, otherwise some of your config will already have been written to the default location.
Use 'Folder' Memory Cards (Windows and Android)
By default, creating a new memory card in these emulators will default to 8MB cards. And they will fill up just like the real thing did. Save across enough games and you'll eventually hit the limit, leaving you to either delete saves or create extra cards and juggle between them.
A folder memory card avoids that by automatically storing each game's saves separately, so you can set it up once and stop worrying about capacity. It also makes those saves much easier to manage, back up, or move between devices.
Pressure-sensitive Buttons (Windows and Android)
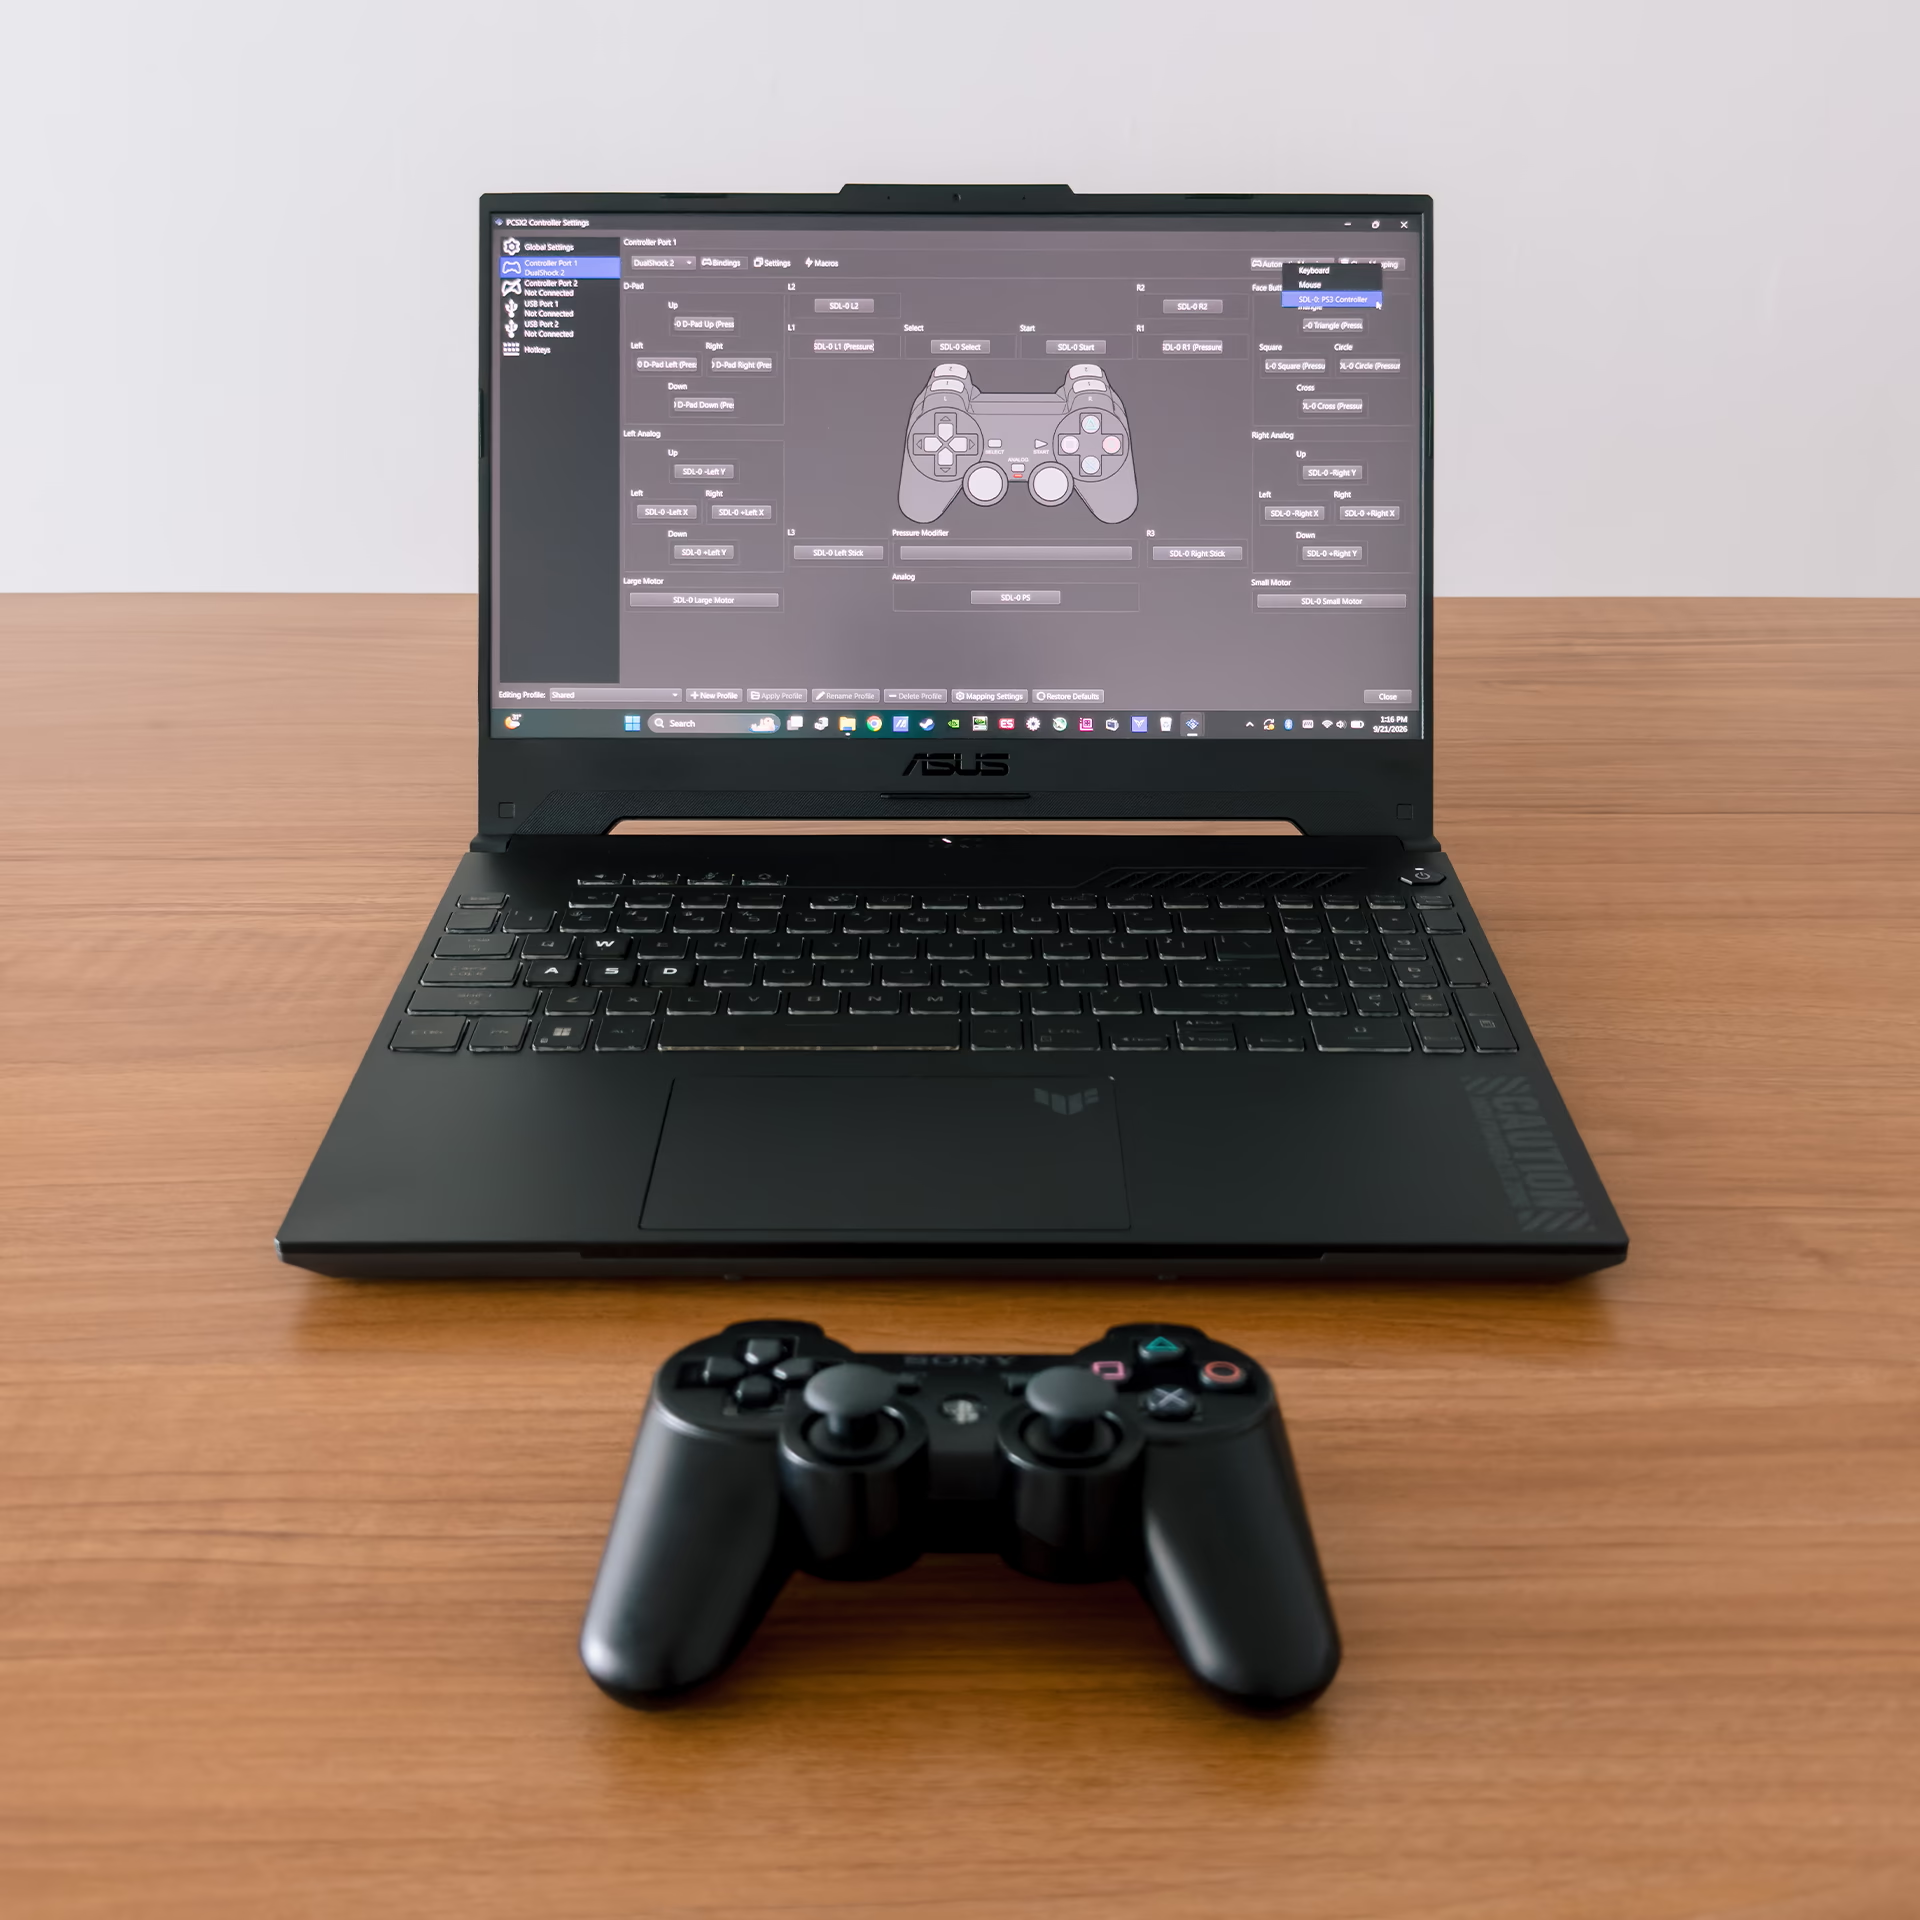
The original PS2 controllers had pressure-sensitive buttons, and a handful of games make use of them. Both PCSX2 and NetherSX2 offer pressure-sensitivity modifiers, but I’ve never had much luck getting them to work properly. Since so few games need them, I find it easier to remap those inputs to an analog trigger or stick.
If you’re on Windows and want the most authentic option, an official DualShock 3 for the PS3 gives you proper pressure sensitivity in PCSX2. It takes a little setup, and you’ll want a genuine controller. Some clones may work, but there’s no guarantee.
- Download the latest Nefarius DsHidMini driver installer from its GitHub page, run it and continue with the installation. If you want to use the controller wirelessly, select “BthPS3 Wireless Drivers” during installation.
- Skip this step if you only want to use the controller wired. Selecting “BthPS3 Wireless Drivers” should download its installer after DsHidMini finishes installing. If it doesn’t, you can download it separately here. Run the installer and select “Modern hot-plug” when asked which setup method to use. If you encounter any problems, you'll want to try “Legacy sequential” instead.
- Download the ControlApp.exe here (it's under the "Checking Controller with ControlApp.exe" section). I also like to keep this exe file in the DsHidMini installation folder (\Program Files\Nefarius Software Solutions) to stay organised, but that’s optional.
- Connect your DualShock 3 using a USB Mini-B cable, then right-click ControlApp and run it as administrator. The controller should appear under Devices, initially set to XInput.
- Open the Profiles tab and click “+” to create a new profile. Select it, click Edit, set the HID mode to SXS, give the profile a name, and save it.
- Return to the Devices tab, select your DualShock 3, and click Configure. Switch it from XInput to your new SXS profile and apply the changes. When prompted, select “Reconnect them now.” Your controller is now in SXS mode.
- If you installed BthPS3, unplug the controller and it should connect over Bluetooth automatically. It should also reconnect wirelessly from then on.
- Open PCSX2 and go to Settings → Controllers. Your DualShock 3 should appear under detected devices (if it doesn’t, unplug and reconnect it). Select the controller port, click Automatic Mapping, choose the DualShock 3, and you’re set.

Hotkeys (Windows and Android)
I recommend mapping a controller button combo for the emulator menu, fast-forward, and quick save and load (save states). If you're setting up other retro systems that support hotkeys, it also helps to keep the mappings consistent across all of them. I use Retro Game Corp's general hotkey recommendations.
Getting an Authentic CRT Look (Windows)
The PS2 was built for CRT displays, and a lot of its games were designed with those screens in mind. If you want to recreate that look, ShaderGlass gives you far more options than PCSX2's built-in CRT filter. On Android, there's no ShaderGlass-style overlay, so you're limited to NetherSX2's built-in filters.
I've covered ShaderGlass in more detail before, so head over here if you want to learn more.

Setting Up an Emulation Frontend (Windows and Android)
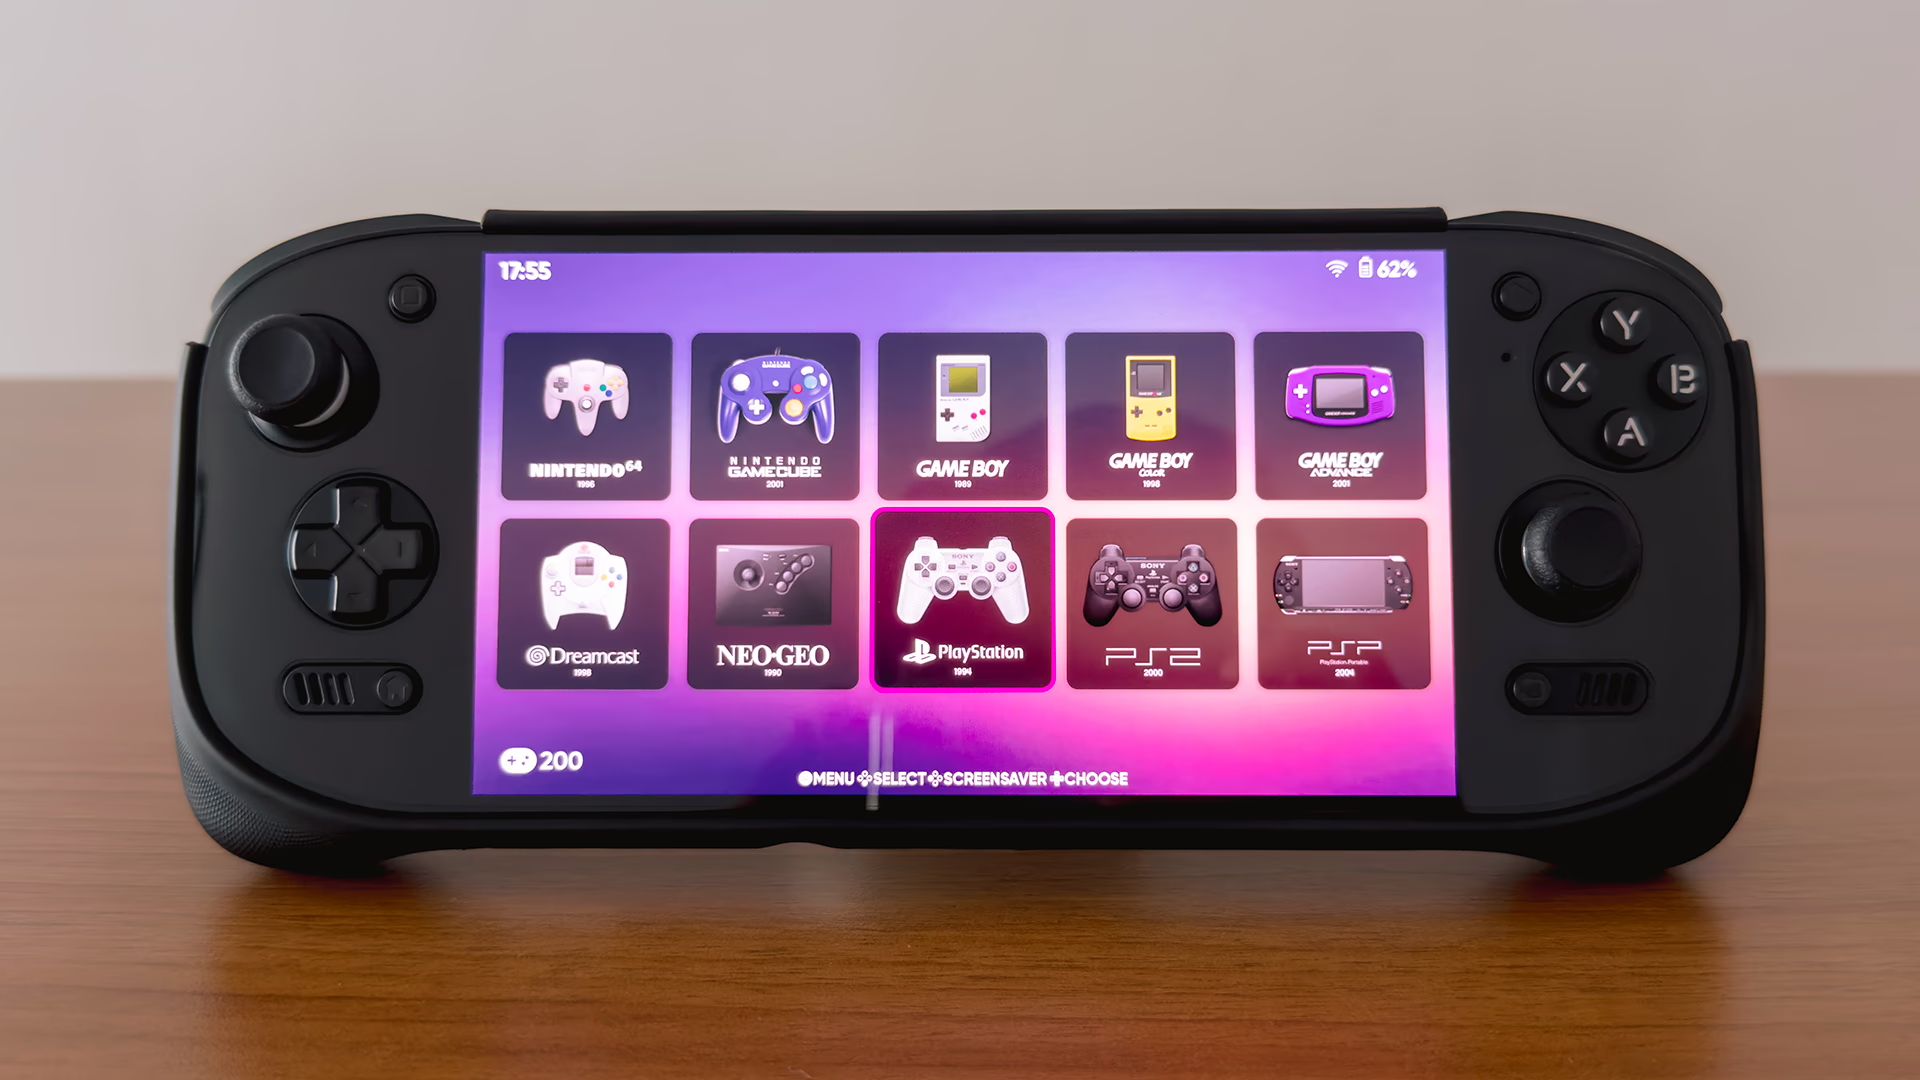
An emulation frontend is a single, console-like menu that brings all your games and systems together, so you can launch everything from one place instead of opening each emulator separately. There are plenty to choose from, but ES-DE is the one I'd recommend (for now). It isn't the flashiest, but it has a clean, simple interface and plenty of themes to choose from. And because it runs on both Windows and Android, you can keep the same interface across both instead of using a different launcher on each.
Syncing Saves Between Devices (Windows and Android)
If you play across multiple PCs and/or Android devices, you might want your save progress to carry over between them. The best tool for that is Syncthing, a free, open-source app that keeps a folder in sync across two or more devices automatically, peer-to-peer, with no cloud account in between.
What you'll want to do is point it at your emulator's memory card folder, so that it stays mirrored across every device. And yes, memory card saves will work between PCSX2 and NetherSX2.
Retro Game Corps' Syncthing guide is the easiest to follow along:
Dumping Your Games and BIOS (Windows and Android)
This guide assumes you already have both, but if you don't, there are legitimate routes to each. For games, PCSX2's official disc-dumping guide covers ripping your own PS2 discs into playable files. For the BIOS, you don't even need a PS2 on hand: you can pull it from Sony's official, freely downloadable PS3 firmware. This video walks through it.
Once you've got your games, it's worth compressing them to CHD files, a lossless format that shrinks PS2 disc images without any quality loss to save space. Retro Game Corps' compression guide covers how.
Changelog
SEP 21, 2026
- expanded pressure-sensitive button setup with DualShock 3 Bluetooth support
AUG 21, 2026
- minor copy edits
JUL 15, 2026
- published post